How To Use NoteCable Apple Music Converter on Mac
Part 1. How to Register NoteCable Apple Music Converter
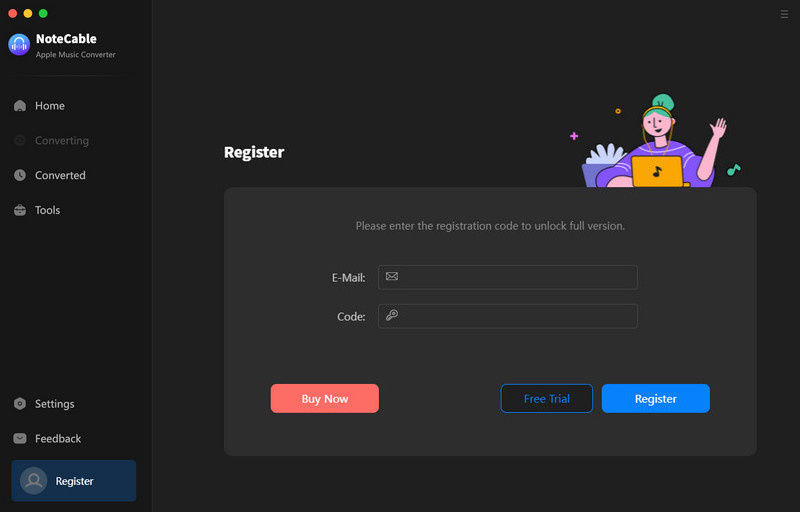
Tap on the Profile icon on the left bar to open the registration window as below. Then copy and paste the registration code you received into the registration popup window.
Part 2. How to Download Apple Music to MP3/AAC/WAV/FLAC/AIFF/ALAC on Mac Using NoteCable
Step 1: Install and run NoteCable Apple Music Converter on your Mac.
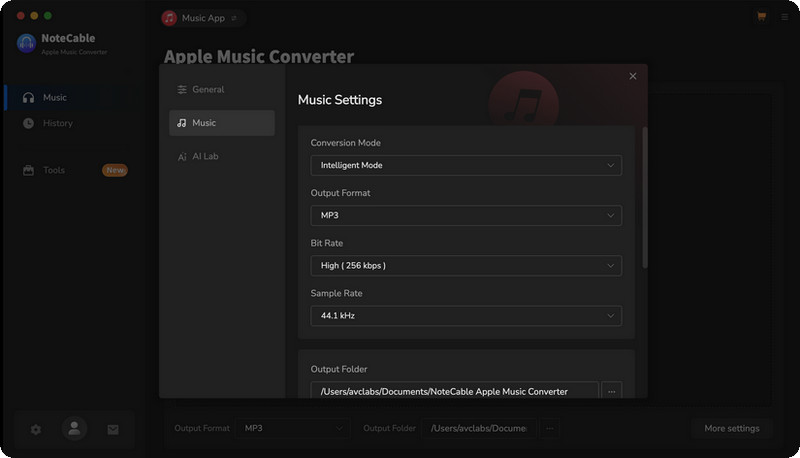
Step 2:You will need to do some customization settings before putting songs to convert. Click on the Settings section on the left bar to customize the output settings.
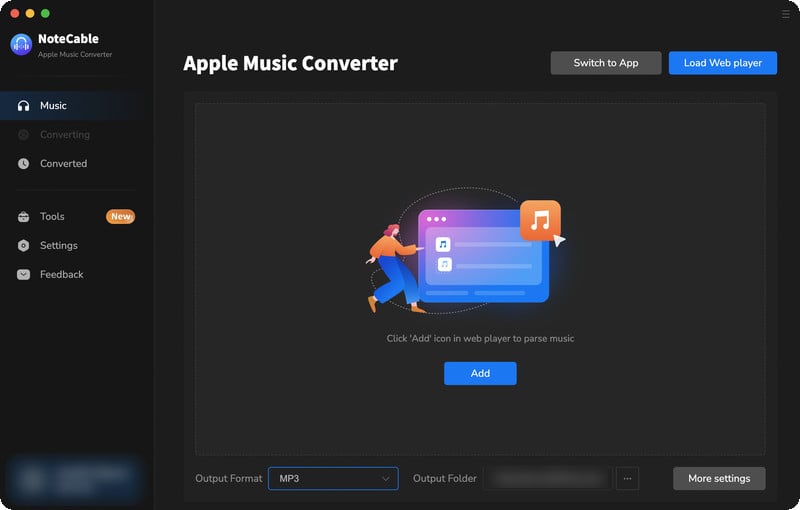
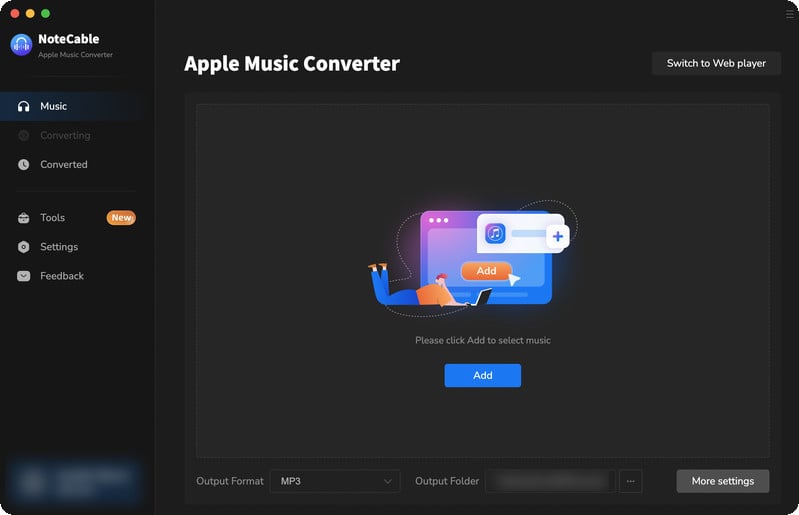
Step 3Simply click the blue Add button on the main interface to add songs from Apple Music to NoteCable.
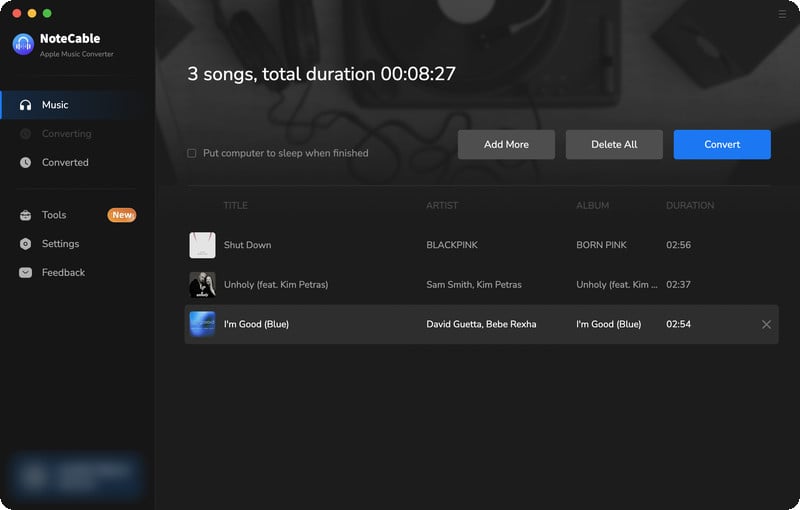
Step 4After completing the song selection, click the Convert button and the download will begin.
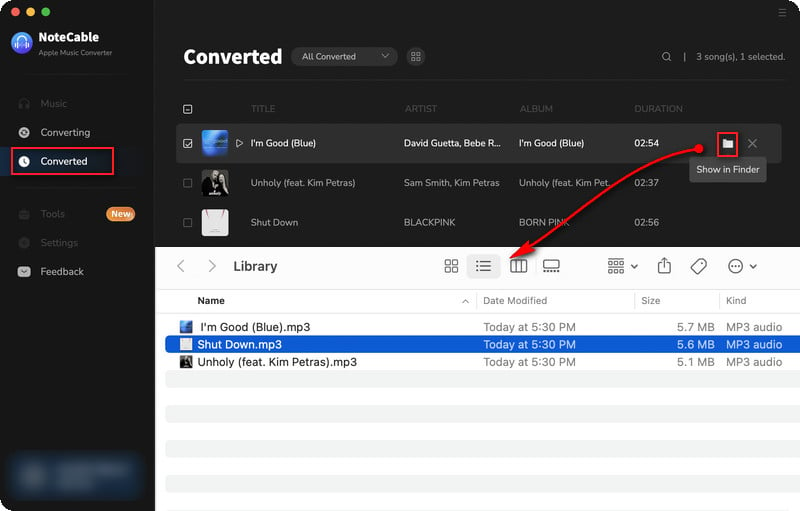
Step 5After the conversion is completed, you can click on the "History" section to find the well-converted music from the local drive. And tap the "folder" icon, you can quickly locate the downloaded songs on your PC.
Part 3. How to Use Toolbox to Edit Tag/Convert Format/Convert Audiobooks/Edit Audio/Separate Vocals and Music Using NoteCable
NoteCable Apple Music Converter not only specializes in converting Apple Music tracks but also provides a range of professional and free tools to elevate your music management. These tools enhance your listening experience and come equipped with various features to meet different requirements.
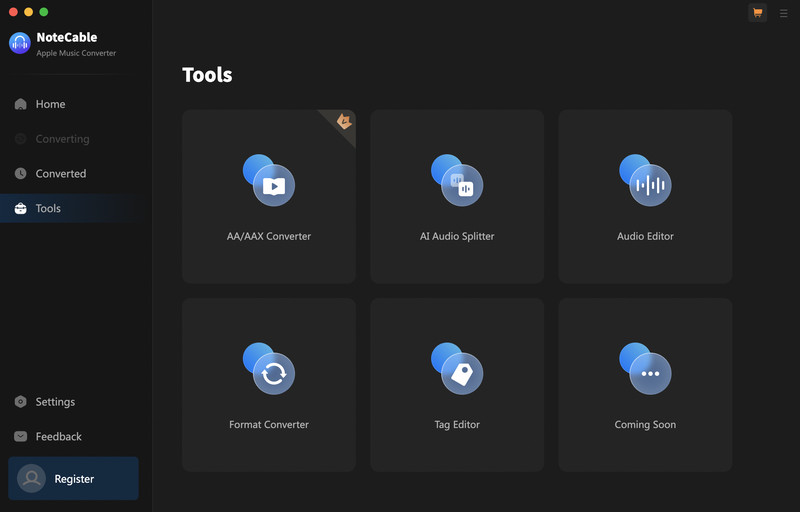
#AA/AAX Converter:
This tool enables you to transform Audible audiobooks from AA/AAX formats into widely-used audio formats, allowing you to enjoy your favorite audiobooks on various devices without any limitations.
#Format Converter:
Beyond supporting Apple Music, the format converter accommodates a range of audio files, enabling you to convert music between formats such as MP3, M4A, FLAC, WAV, OGG, and AIFF to meet your playback preferences.
#Tag Editor:
Keeping your music library organized is essential, and the tag editor enables you to modify metadata such as song titles, artists, albums, album artists, composers, and more. This feature ensures your music collection stays tidy and easily searchable.
#Audio Editor:
With the audio editor, you can personalize your audio tracks by trimming, merging, or altering audio files. This is particularly useful for crafting custom playlists or eliminating unwanted sections from a song.
#AI Audio Splitter:
The AI audio splitter allows you to isolate vocals and instrumentals, enabling the creation of karaoke tracks, remixes, or focusing on specific elements of a song for analysis or enjoyment. This feature is especially beneficial for musicians, producers, and DJs looking to manipulate audio tracks for creative projects.
NoteCable Apple Music Converter for Mac allows you to download and convert Apple Music tracks to local storage in formats like MP3, AAC, WAV, FLAC, AIFF, or ALAC. This enhances playability across various platforms and operating systems. It also includes tools for tag editing and format conversion, ensuring you can continue to enjoy your music even after your Apple Music subscription expires.